I thought I’d give a slightly detailed view of how I made the GHS replacement of the GMC logo on the front of Ben’s 1998 GMC pickup.
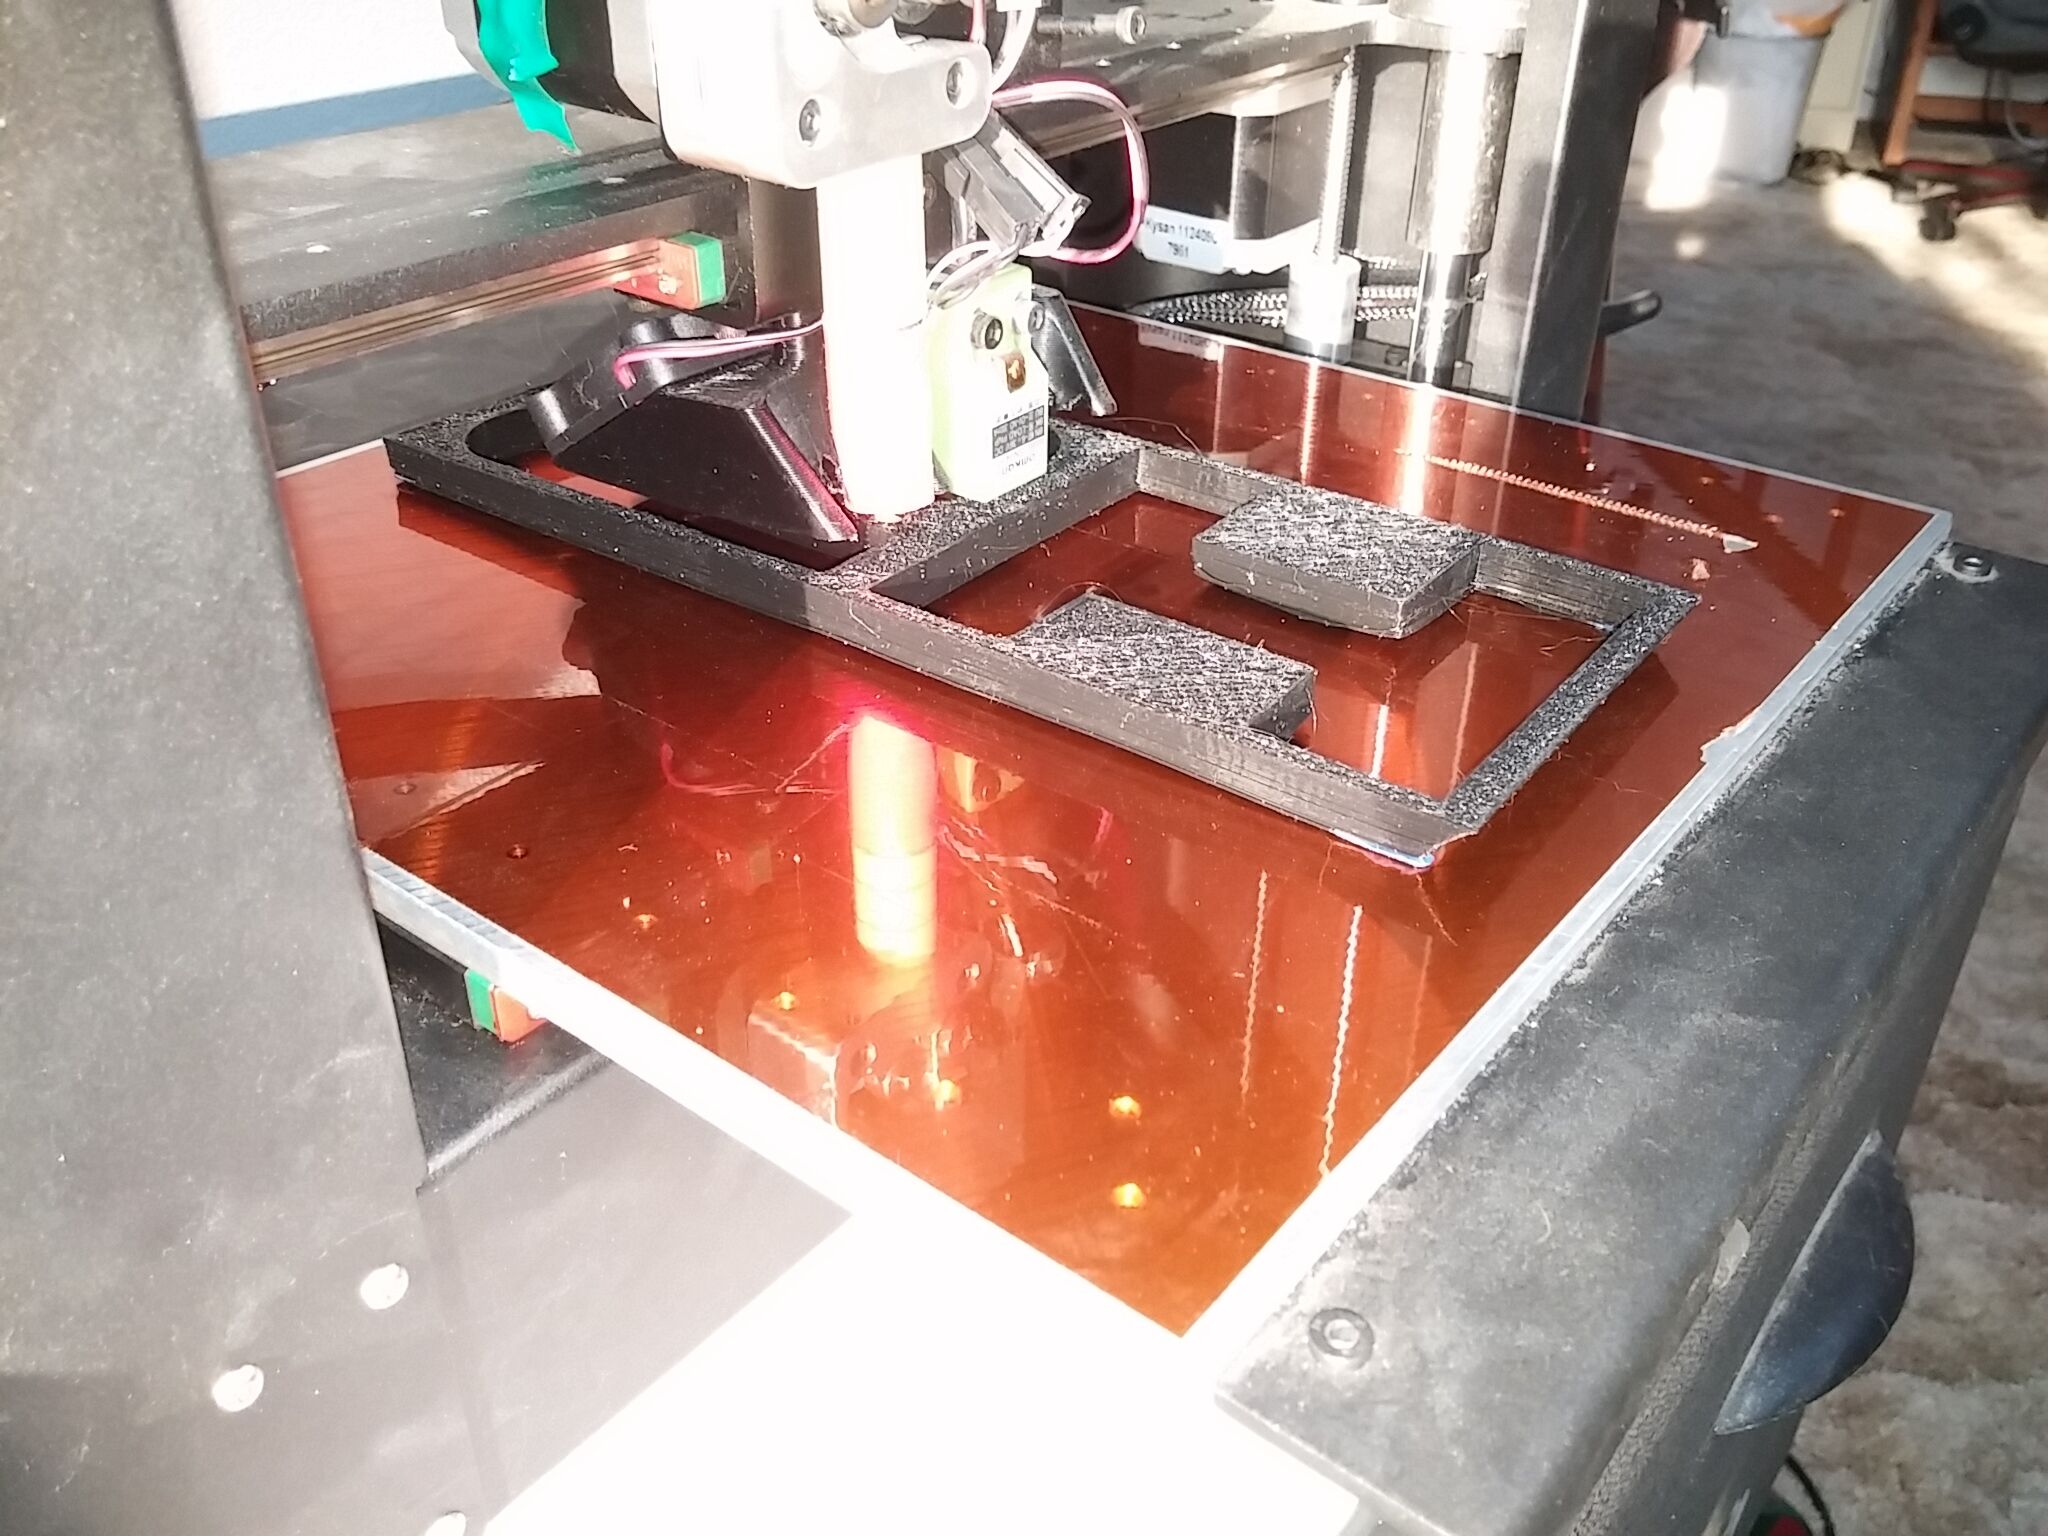
3D Printing the front part of the light housing. Because the logo is wider than my 3D Printer, it has to be printed in two parts. Here I’m printing the H and S or right side of the logo.
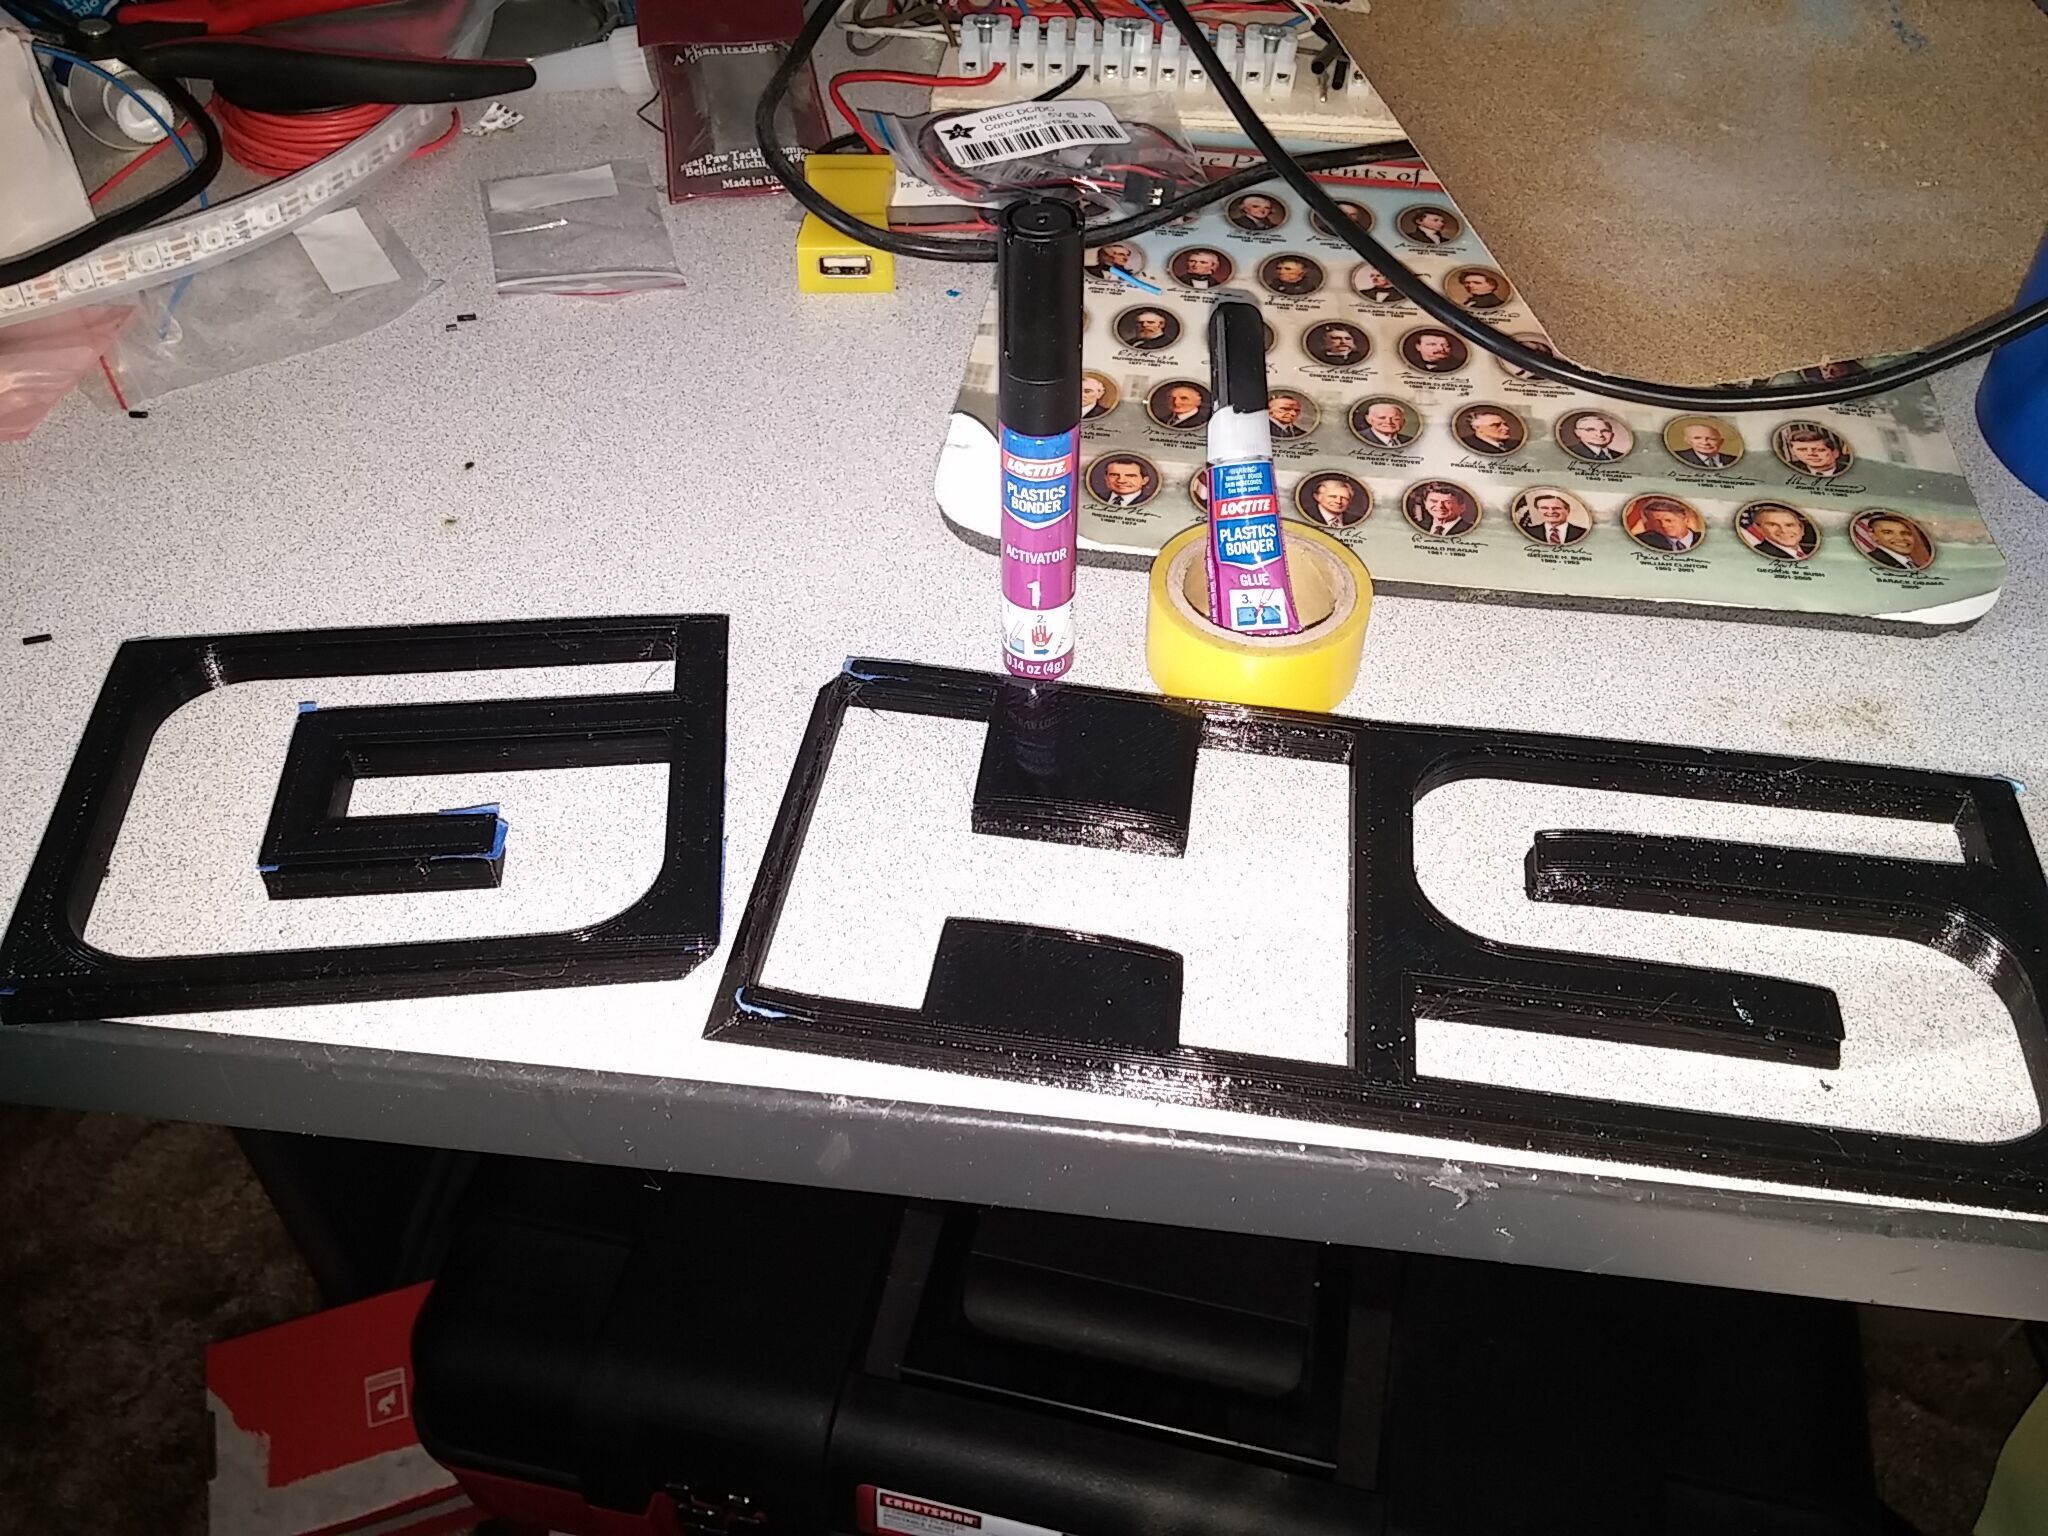
Prior to gluing the front pieces together with plastic epoxy.
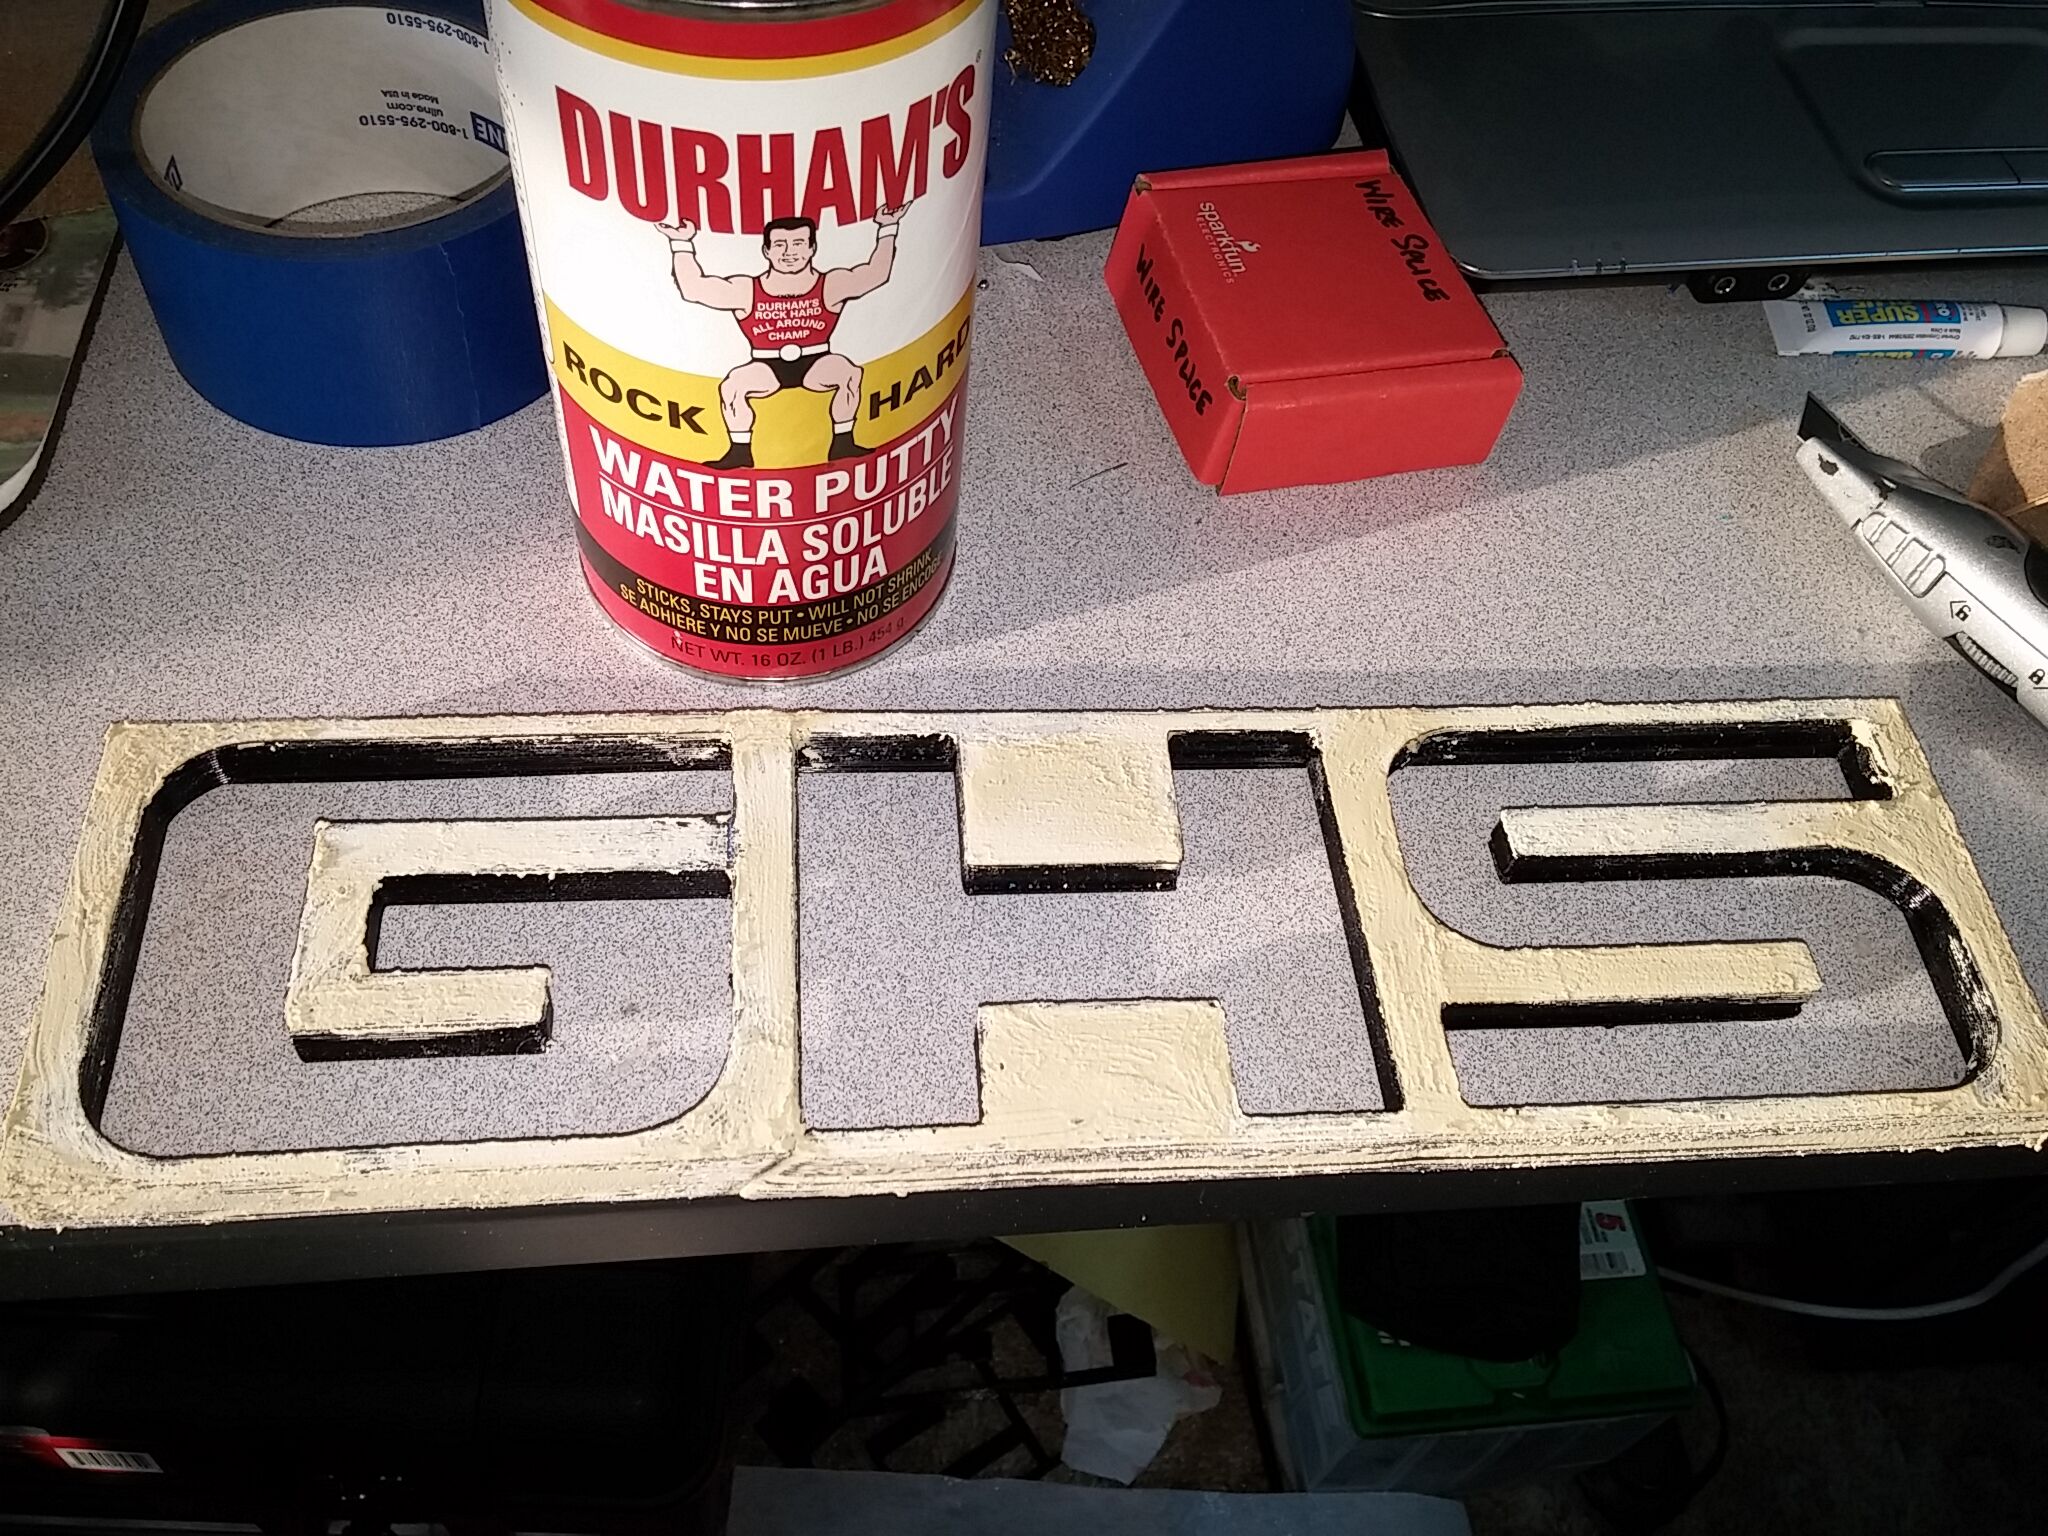
After gluing together the two pieces, putty and sandpaper were used to create a smooth sanded surface.
The NeoPixel (from AdaFruit.com) 8×32 strip is glued into place.

Printing the back portion of the mount.
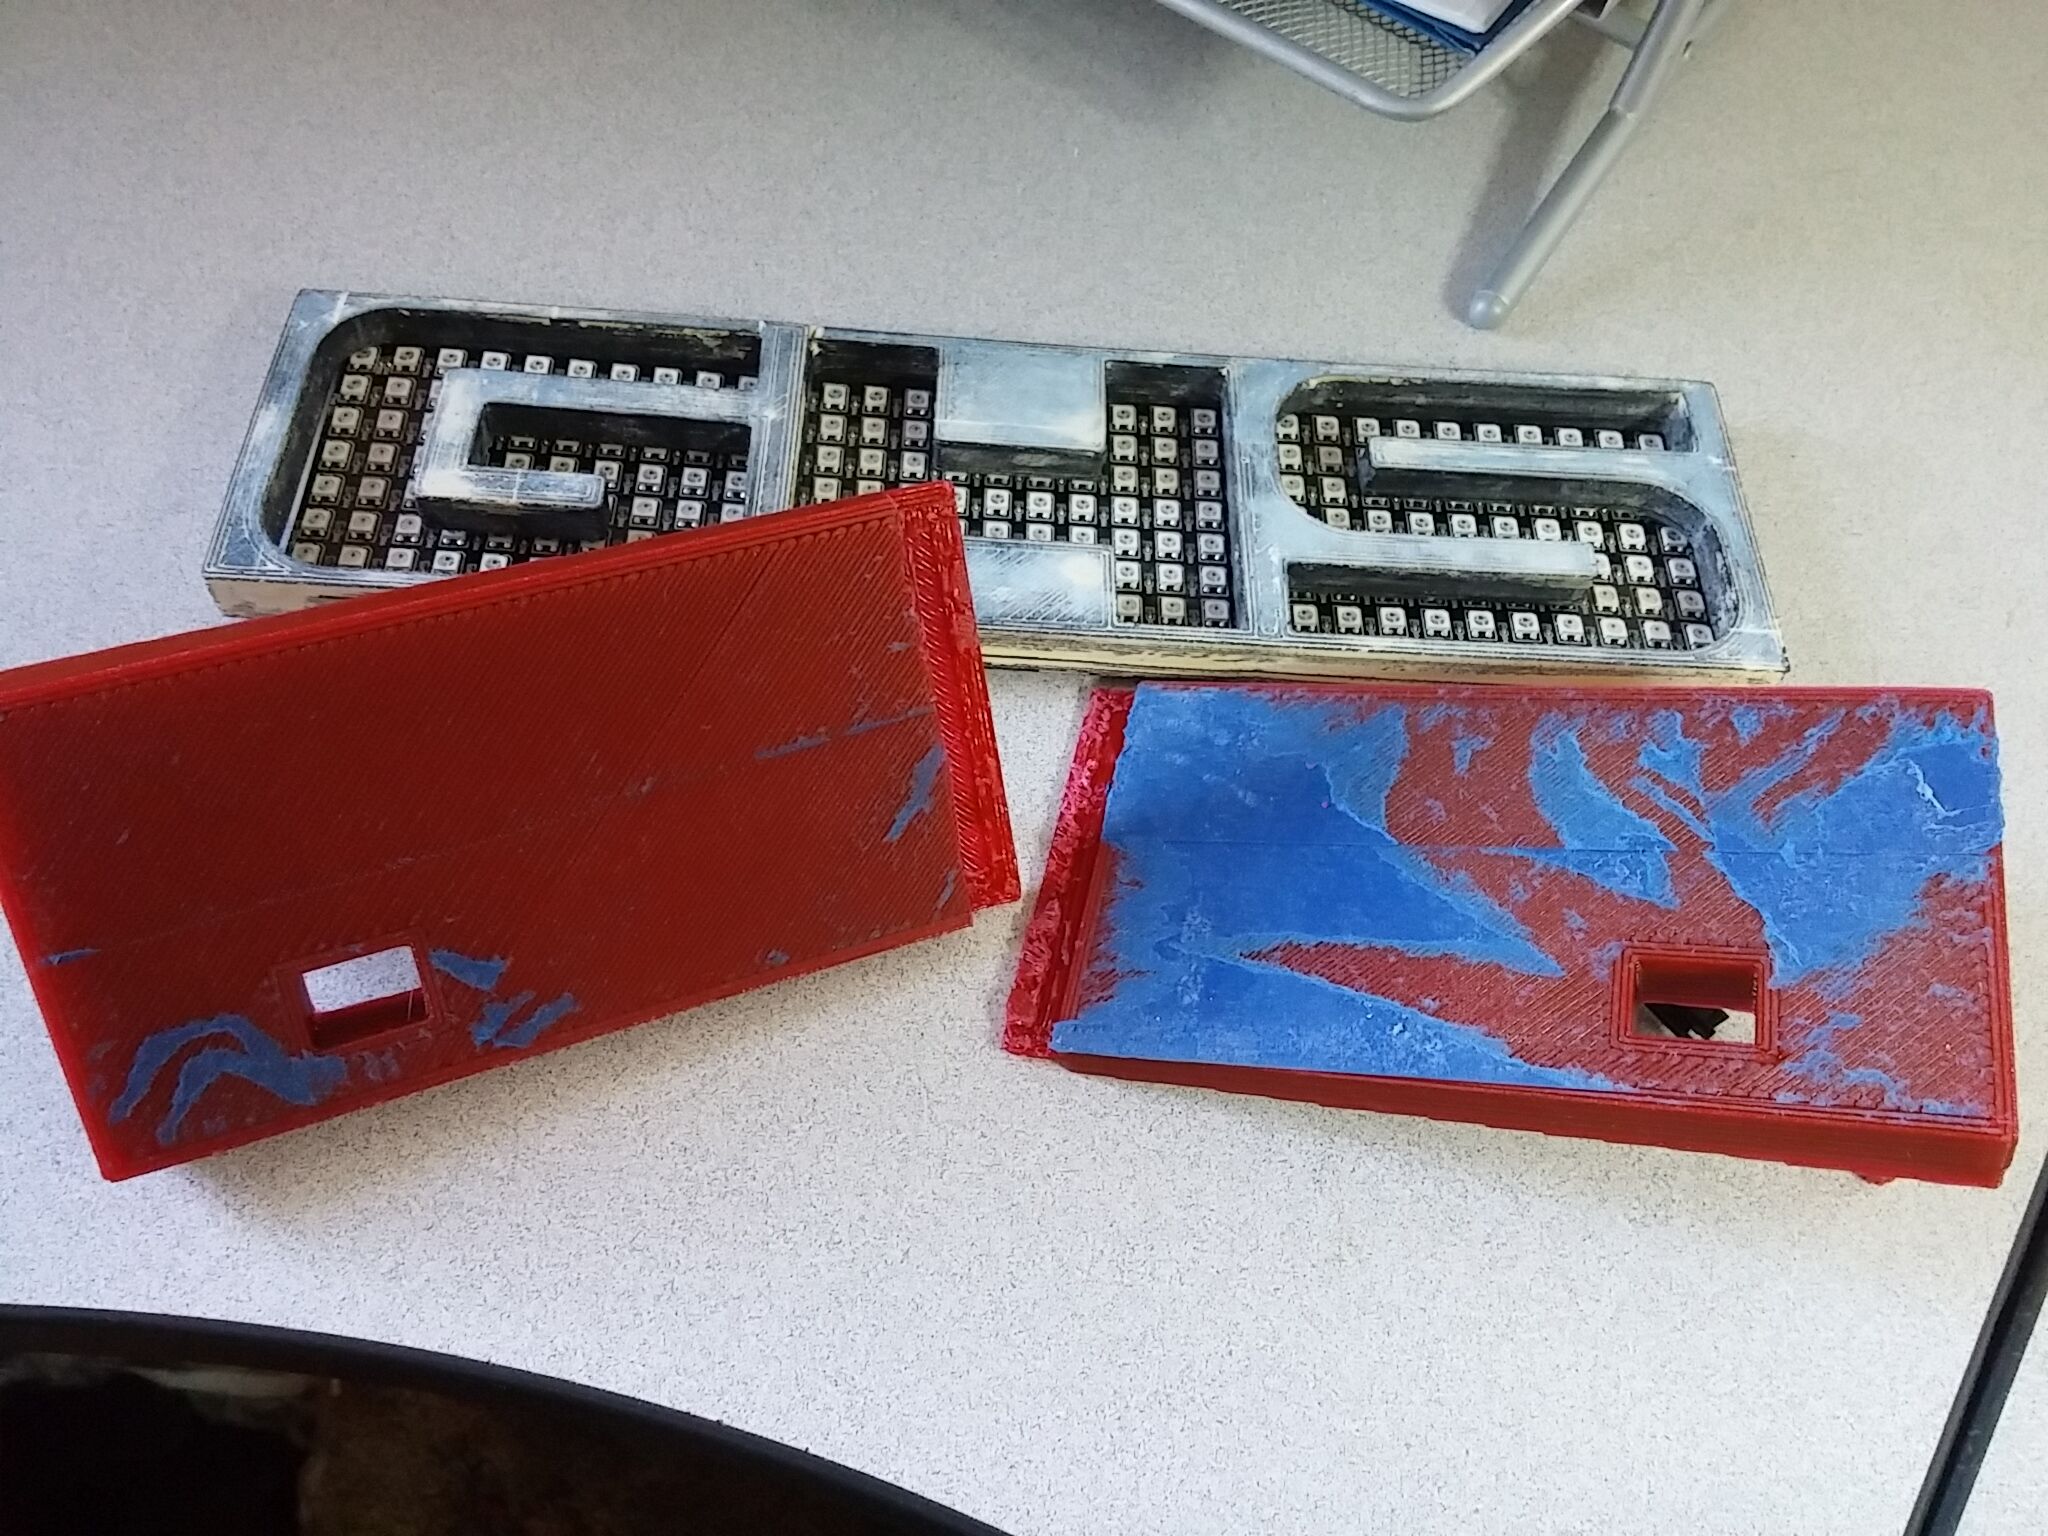
All the parts before assembly. This would have been much easier if my printer was large enough.
Tape and paint (I forgot to take the picture until after I pulled off the tape)
Fill each of the letters with 1/4″ of acrylic.
Attach nipples (hollow threaded tubes) to the back plate and over the plastic cylindrical pegs that were printed.

This is where it is to be installed.
The complete project. Lights are controlled by BLE attached to a Mega Arduino controller board.